Thursday, March 31, 2011

Reuse or repurpose for Frosted designs

Over at frosteddesigns. they have a great challenge this week / fortnight . Reuse or re purpose ! I have been holding onto this mirror i brought for my daughter years ago , Not knowing what i was going to with it . I knew it was to good to throw away , and she really does not like Bratz now ( lol ) she is 14 !
This is what the mirror looked like before .

And this is the draw at the bottom of the mirror .
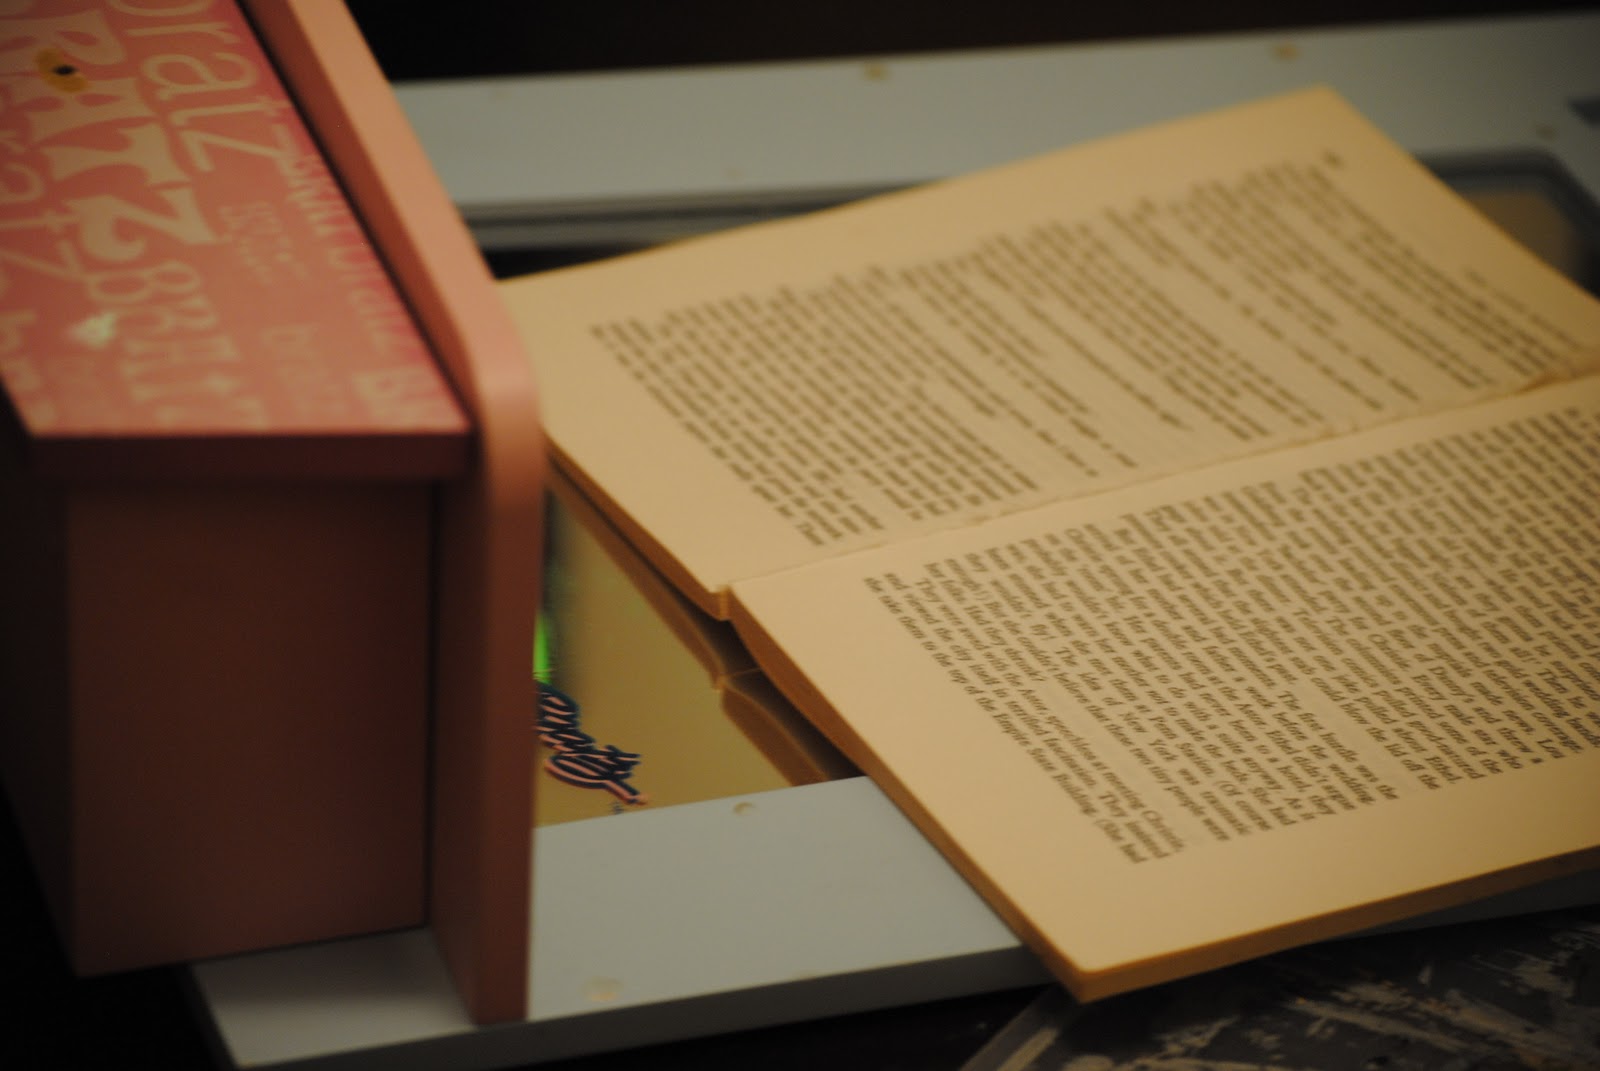
I covered it in old book paper .

And pulled of a few feathers of this feather boa i have been keeping , yep that's another thing i could not throw away .

I used some old ceiling white paint to cover over the book paper .

Found an old draw knob i had in my stash .
The thin pink ribbon across the front was of a top i brought ( the ribbon that holds your clothes onto the hanger ) that's another i have heaps of , ribbon of clothes ..... lol

I also made paper roses out of the book paper , and the leaves are out of tissue paper , (another thing i keep anything that comes wrapped in tissue paper ) ,

The pearls here are of a broken necklace my daughter gave me and yes i have her keeping all of her broken jewellery for me too . 

The little pink bird the bird cage and the leaves on the branch in this photo are Christmas decorations i have been keeping !

Here are the feathers of the boa and i made the little nest out of wire.

The only new thing that was brought for this project is the light blue spotted paper from Prima ( oh and yes i used Prima something i don't do that much ) .

I'm really happy again with the way this one has turned out .

Now i have to get the drill out to hang it up in my scrap room .
Pop over to frosteddesigns. and join in the fun !
Thanks for taking the time to look .
Xx

Tuesday, March 29, 2011

Do you need a product book?

I LOVE LOVE LOVE the way this book has turned out !
Oh and i LOVE LOVE LOVE texture paste too !

Rub'n'Buff , glimmer mists , Home made shimmer mists and foam stamps have turned this boring book into a WOW book !

The inside covers and the back cover i have embossed and then patch worked black card stock , Finishing that of with rub;n;buff and glimmer sprays.


Then the binder of the book was a little boring so out came the wool , yes wool , looks great tied down the side of the binder . I'm going to be using this book for a list of products that i have , So when i go to the shops i don't double up on colours ! You know you have to have the whole range of colours right ? I'm also making another one in different colours so keep checking back to see that one too .
Thanks again for popping by .
Xx

A card using blue .

Blue is not a colour i use that much on cards .
But i am very happy with the way this little cutie has turned out !


This is a little house mouse stamp .
The top of this card lifts up showing a cute little message .


" just flying by to say hi "

The little stamp is coloured in using water colour oil pastels and a aqua brush . I think this little card would be something i would love to receive in the mailbox.
So why not take 15 Min's ( or maybe a little longer....lol ) to make a card for someone special ?
Thanks for taking the time to look.
Xx

What to share first ?

I attended a class with Linda Baldock this pass weekend ,
I made this amazing little altered up-cycled book cover


                                                 FLIGHTS OF FANCY

I'm really really happy with the way it has turned out !
 
If you would like to take a look at Linda's blog you can find her here. http://atclindab.blogspot.com/                           Its really worth taking a look :)
This day was organized by the girls at blackburnscreations .
Thanks girls for a great day and yummy cake !

Friday, March 25, 2011

I made top 3 !!!!!!!!!

This was posted from Frosted designs!

Fabulous Friday Top 3!


Wow! We have some seriously talented people hanging out here at Frosted Designs! We were blown away by how creative your beautiful banner projects were! But, as always, we had to narrow it down to just 3 so congratulations to these ladies....

My name was second on the list !!
This was the first time i have have entered a challenge online.
So this made me very happy today :)
I cant get a picture to upload , don't know why but i have put a link for you all to have a look at the girls work !

http://frosteddesigns.blogspot.com/

Thanks for taking the time to look.
                     Xx

Tuesday, March 22, 2011

My Core'dinations Creative Frenzy

Let start with a 6 pack of cards.
All these cards are made with Core'dinations and the very cute Berrylicious patterned paper from Imaginisce. 

In this one post you will see over 20 different ways to use Core'dinations. Use your Cricut or Cuttle bug to cut shapes or fonts once you have done this you then can sand , ink or glossy accent it. 

Core'dinations is great for layering , and stickers stick onto it really well. 


You can also use both sides of your Core'dinations card stock , using the "smooth" side you can apply rub ons easily.You can also leave the Core'dinations just the way it is because it has a great look as is.

Words look great cut out of Core'dinations as well,

Core'dinations rips really well.


The way i love to use it the most is to emboss it ! !

Then sand it a little , looks amazing in real life.
The sewing machine sews through it really well ,

Hand sewing looks great too.
Chipboard shapes and letters also stick to Core'dinations too.
Smooch ink looks a little fab and finishes this card of great.

Brads and eyelets look amazing against the texture of this card stock. So that's it for the card making part and next there are 2 layouts using Core'dinations

Ready for kindy ! !

Core'dinations is great for stamping on , I did not sand the edges of this one as i loved the look of the card as is.

You can also write straight onto Core'dinations.
Staples go through with ease.

Best Buds layout ! !

I'm SOOOOOO in LOVE with this Core'dinations card stock !

Run it through you cuttle bug with a really cute embossing folder ,

Sand over the top a little and the green " core " shows through , Finish it of with a little Rub n Buff . You can get this card stock in so many colours so why not give it a try .
Thanks for taking the time to look.
Xx

Sunday, March 20, 2011

You all must know by now that i LOVE cupcakes ! !

I picked up this box at a swap meet a few months ago now, Not know what i was going to do with it.

I picked up the cutest paper from Inspired crafts, Little yellow bicycle CUPCAKE LOVE. Knowing straight away what i was going to make !

There is about five different sheets of paper in this range. I covered the sides in one , the top in another and the inside in a different one again. I also painted the edges that were left showing in Kaiser craft candy pink, Once this was dry i then finished the edges of with a little more Kaiser bling.

I have cut a heap of left over card stock to fit in side. Each card will have a different cake / treat / or party idea i have done or want to do in the future on it. On the back side it will have any details like web pages , email and products used.

I used Cuttle bug letters painted with SMOOCH and glossy accented. The little cupcakes are cut out of the left over paper scraps.

And i have been keeping this really cute cupcake bling for something special.....and this project was just that ! !
I'm really happy with the way this box has turned out and it frees up alot of computer space having all my ideas in one little but not so little box.
Thanks again for taking the time to look.
Xx